How to Install Car Underglow at Home, Full DIY Guide
Underglow is one of the fastest ways to transform how your car looks at night. This guide is pulled directly from a real install, one that took about an hour and a half, required minimal tools, and came out completely clean with no visible wires.
✅ Universal fit: the NIGHTGLOWE underglow kit works on any make and model.
Shop the Sequential RGBIC Underglow Kit, check whether underglow is legal in your state, or find the right kit for your car in 30 seconds.

Why the NIGHTGLOWE Kit Is Different
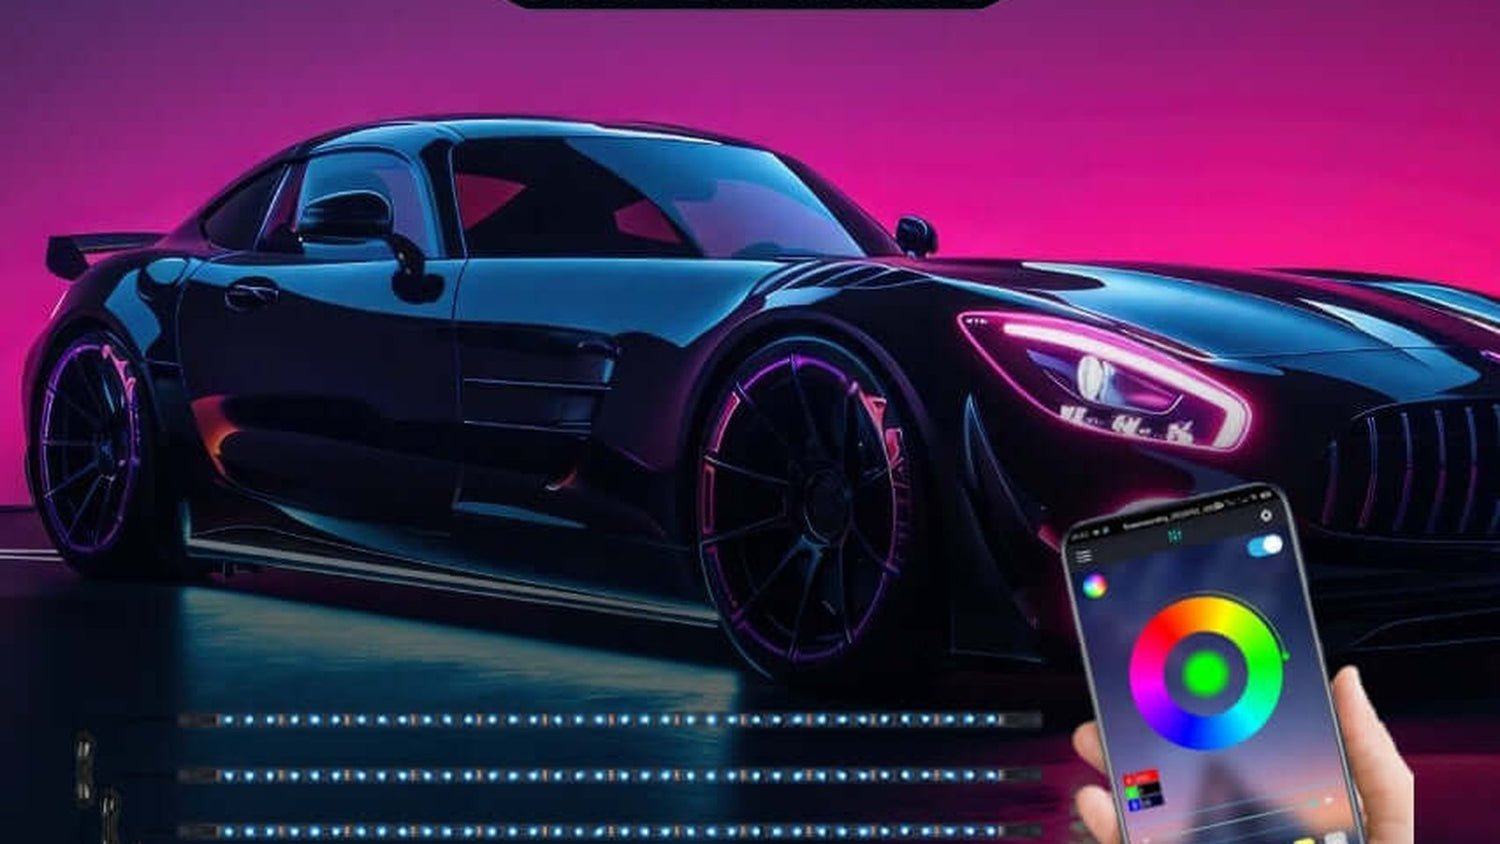
Most cheap underglow kits on Amazon give you one continuous color with a rigid aluminum channel. The NIGHTGLOWE kit uses a flexible silicone/rubber housing, which matters when you're wrapping around bumper lips and curves. The bigger reason to choose it: the RGBIC chase function. The LEDs run in a sequence that flows front to back around the car, something the single-color kits physically can't do. It also runs on Bluetooth with two separate channels so each side can be controlled independently.
What's in the Box
- Main Bluetooth controller with two separate output connectors
- Two LED strip looms (each with its own connector)
- Power harness with built-in fuse
- Hardware pack: zip ties, clamps, mounting screws
- Instruction manual
Understanding the Strip Layout Before You Start
This is the step most people skip and then regret. Each loom breaks into three sections: a shorter piece for the front bumper, a long piece for the side skirt, and another shorter piece for the rear bumper. The sequence flows from front to back: so when you lay them out, make sure the chase animation runs consistently around the car. If you flip a strip, the sequence goes backward on that side and the chase effect breaks.

Lay both strips out on the ground next to the car and trace the direction before you touch anything with tape.
Step 1: Wire the Controller First
Find your 12V power source before lifting the car. The easiest option on most cars is tapping into the fog light wiring, it's already near the front where the underglow starts, and it's ignition-switched so the lights cut out when the car is off. Cut the fog light connector, solder your power harness in, and use waterproof heat-shrink connectors on every joint. If you want to keep the fog lights, use wire taps instead of cutting.
German cars (BMW, Mercedes, Audi, VW): the fuse boxes are in the glove box and trunk only, there's no under-hood fuse box. Running a wire through the firewall just for underglow is more hassle than it's worth. Fog light tap is the clean solution.
Step 2: Lift the Car
Get the front up on ramps first. You'll do the front bumper and both side skirts with the ramps at the front, then switch ramps to the rear to finish the back. You need enough clearance to lie underneath and press strips firmly, don't rush this on a floor jack without stands.
Step 3: Clean Everything With IPA First
This step determines whether your strips stay on for years or peel off in three months. Spray isopropyl alcohol liberally on every surface you're sticking a strip to, front bumper underside, rocker panels, rear diffuser, and wipe with a microfiber. You're removing the grease and road grime that will destroy 3M adhesive bond. Don't skip this.
Step 4: Install the Front Strips
Start with the shorter strip that has the connector. Position it from the center of the front bumper lip and curve it around each side. Mount it slightly further back on the splitter/spoiler, you want the light to reflect off the ground, not the actual LED diodes to be visible from straight on when looking at the car.
Peel the backing, press the first section down, and work your way around pressing firmly. This 3M tape is strong, if you get it positioned right, it's not moving. Where two strips meet (front section to side skirt), overlap them by about an inch to eliminate any dark gap in the sequence.

Step 5: Install the Side Strips
Before sticking anything, lay the side strip out and center it. The strip is slightly shorter than a full car length, so you'll have a 2–3 inch gap on each end, center it so the gap is even front and back. Mark the start point with tape.
Route around jack pads and suspension mounting bolts, never stick the strip over anything structural that might need service. Clean the rocker panel with IPA, then press the strip down from your marked start point.
Step 6: Secure All Wires
This is what separates a professional install from an amateur one. Every wire needs to be zip-tied away from moving suspension components. Run the wire along the body, not through the control arm or anywhere near the axle. Drill small holes in the body/bumper to thread zip ties through, the kit comes with clamps for this. The wire should be taut enough to not hang down, loose enough to flex with the body.
Step 7: Mount the Controller
The main Bluetooth controller mounts in the engine bay, on the FR fan shroud is ideal on most cars. Use double-sided tape, tuck the excess wires down into the bay, and none of it will be visible when you open the hood. Fish the two output leads down through the bumper to where the front strips connect.
Step 8: Install the Rear Strips
Jack the rear up (or switch ramps to the back). The rear strips run along the inside of the bumper extensions/canards and across the diffuser. Route the connecting wire above the exhaust, keep it away from heat, and zip tie it to the sway bar if needed. The sway bar has slight torsional movement but won't damage a wire if it's secured loosely.
Step 9: Test, Then Final Walkaround
Before putting the car down, turn it on and check all four zones light up. Walk around, nothing should be hanging, no wires visible, no dead spots in the sequence. At this point the install is done. The whole process from start to finish takes about 1.5 hours.
Underglow Legality, Quick US Reference
Static, non-flashing underglow is legal in the vast majority of US states. Key rules that apply everywhere: no red visible from the front, no blue (reserved for emergency vehicles), no flashing while moving. California, New York, and Illinois have additional restrictions, static colors other than red/blue are generally fine. When in doubt, set it to a static white, purple, or green for street driving.
Check your exact state before you drive: the full underglow laws by state guide covers all 50 states + DC with statute references, color rules, and parked/private-property nuances.
The Final Result
Done right, you can walk around the car and see nothing installed in daylight, no wires, nothing hanging, completely clean. At night it's a completely different car.
Get the NIGHTGLOWE underglow kit, from $99.99 with free shipping in the US: Shop the Sequential Underglow Kit
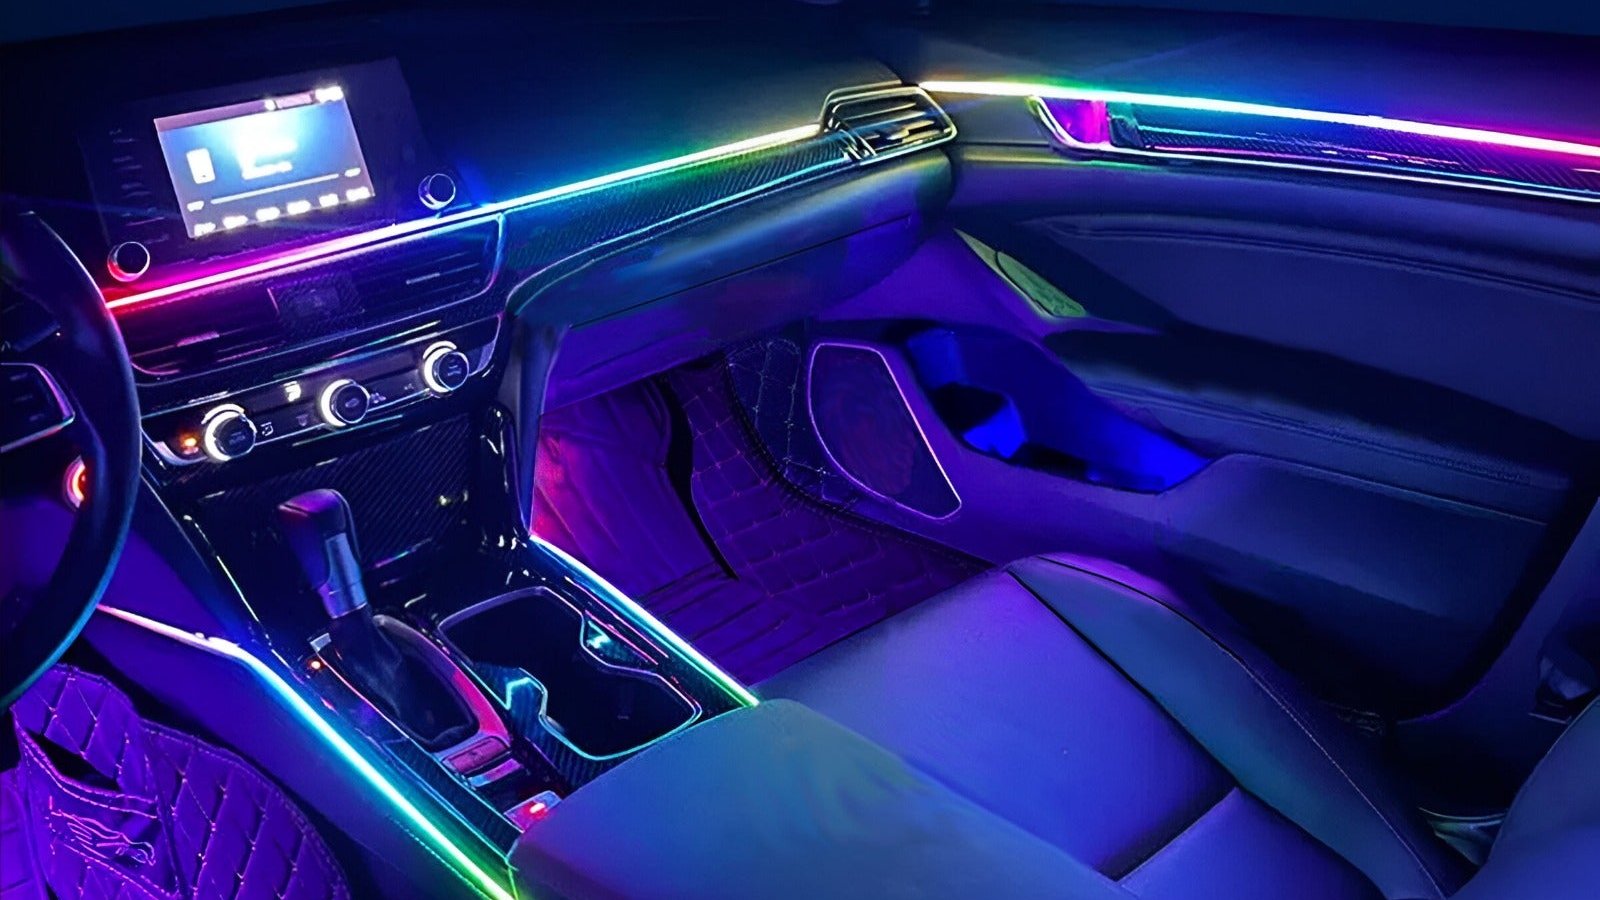
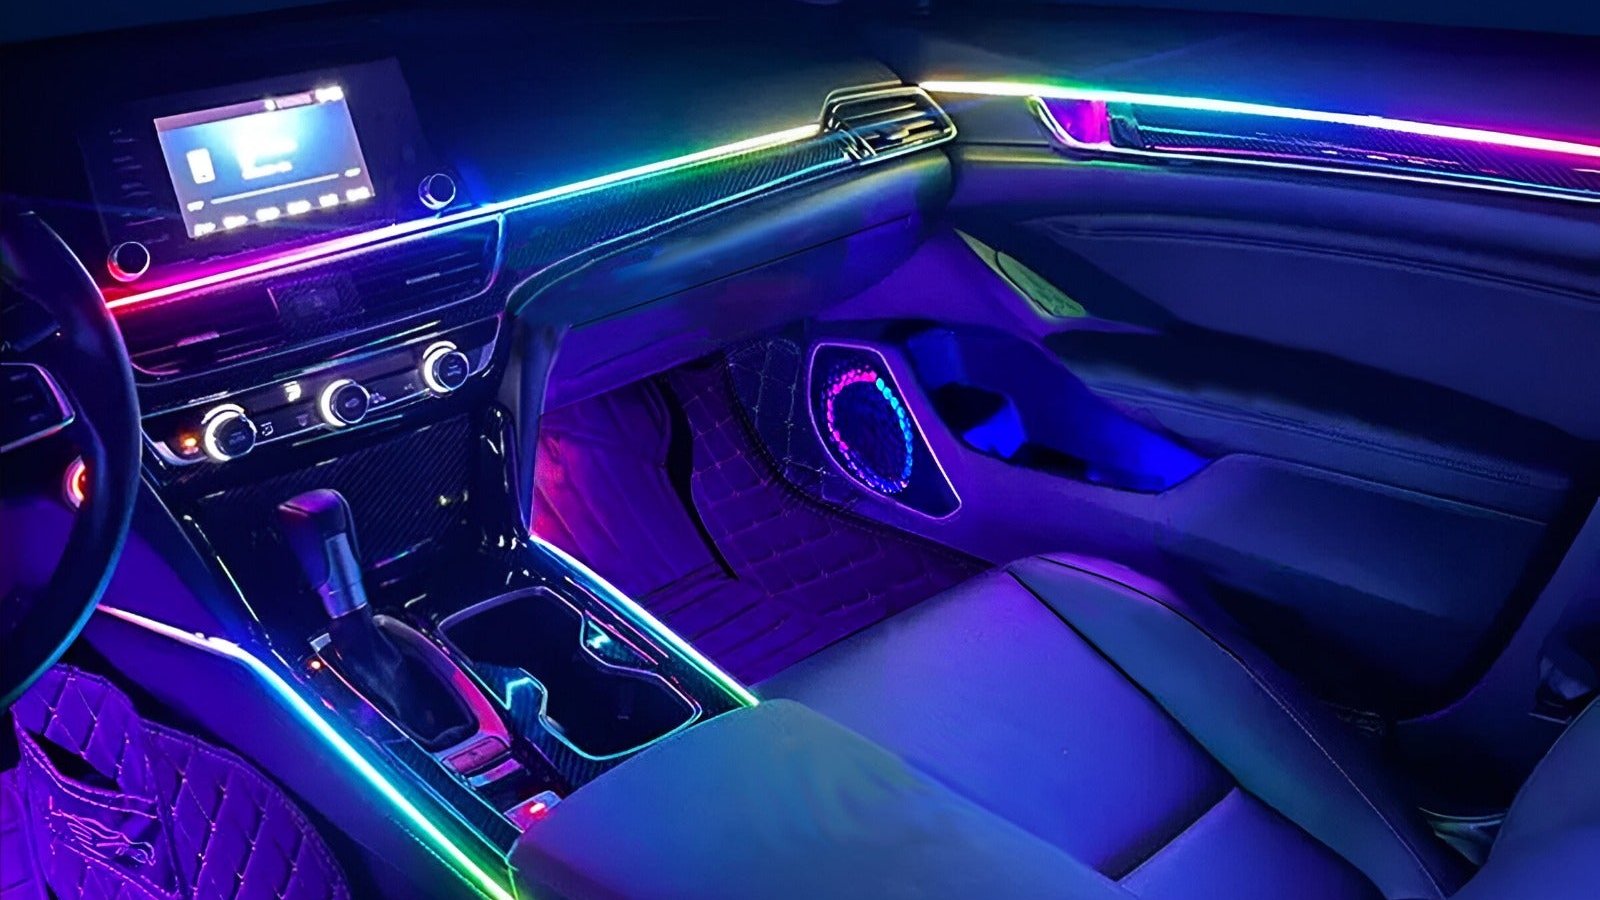
Doing the interior too? See the ambient lighting install guide or grab the GalaxyDrive Bundle™ for starlight + ambient together.
Leave a comment
This site is protected by hCaptcha and the hCaptcha Privacy Policy and Terms of Service apply.